This is a two part Post where I will explain how to configure Windows Azure Access Control Services and Facebook authentication in SharePoint 2013. To achieve this we need to set up
- One Facebook Application
- Adding a Windows Azure Access Control Service
- Adding the Certificate & Manage Trust in SharePoint
- Registering custom ACS in SharePoint using PowerShell
1, 2 & 3 are done in Part 1. This part will cover creating a new web application and registering Custom ACS using PowerShell and making my web application aware of this custom ACS.
Read Part 1:
Step by step walk-through follows:
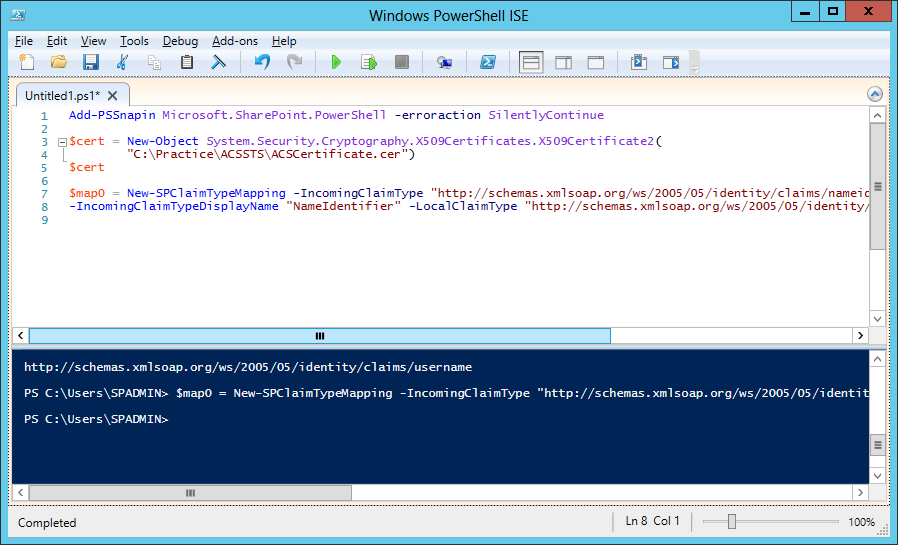
Step 1: Load Windows PowerShell ISE

Step 2: Execute the command to register custom ACS
/////////////////////////////////////////////////// command begins ////////////////////////////
Add-PSSnapin Microsoft.SharePoint.PowerShell -erroraction SilentlyContinue
$cert = New-Object System.Security.Cryptography.X509Certificates.X509Certificate2(
"C:\practice\acssts\ACSCertificate.cer")
New-SPTrustedRootAuthority -Name "SP2013 ACS" -Certificate $cert
$map0 = New-SPClaimTypeMapping -IncomingClaimType
"http://schemas.xmlsoap.org/ws/2005/05/identity/claims/nameidentifier"
-IncomingClaimTypeDisplayName "NameIdentifier" -LocalClaimType
"http://schemas.xmlsoap.org/ws/2005/05/identity/claims/username"
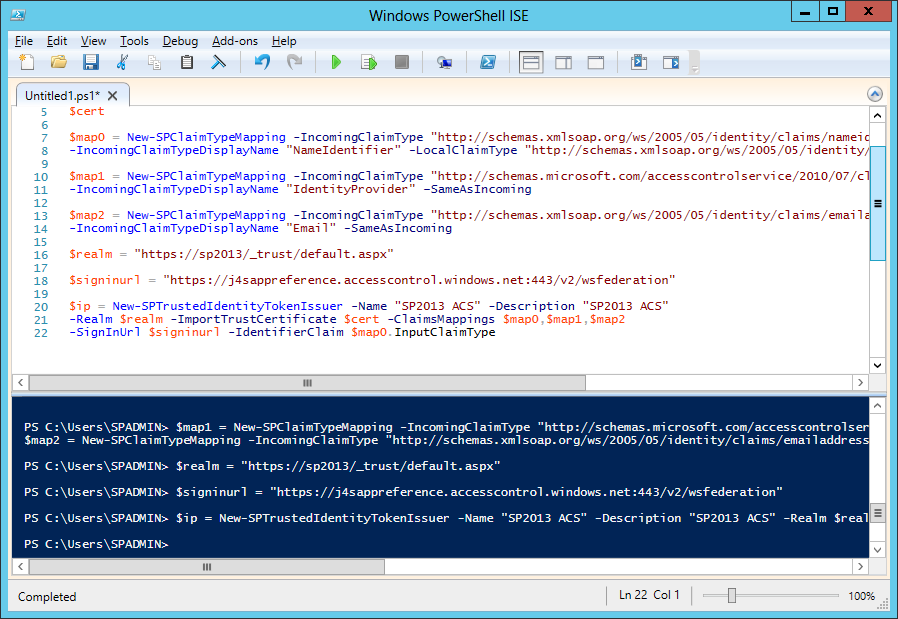
$map1 = New-SPClaimTypeMapping -IncomingClaimType
"http://schemas.microsoft.com/accesscontrolservice/2010/07/claims/identityprovider"
-IncomingClaimTypeDisplayName "IdentityProvider" –SameAsIncoming
$map2 = New-SPClaimTypeMapping -IncomingClaimType
"http://schemas.xmlsoap.org/ws/2005/05/identity/claims/emailaddress"
-IncomingClaimTypeDisplayName "Email" -SameAsIncoming
$realm = "https://sp2013/_trust/default.aspx"
$signinurl = "https:// j4sappreference.accesscontrol.windows.net:443/v2/wsfederation"
$ip = New-SPTrustedIdentityTokenIssuer -Name "SP2013 ACS" -Description "SP2013 ACS" -Realm $realm -ImportTrustCertificate $cert -ClaimsMappings $map0,$map1,$map2
-SignInUrl $signinurl -IdentifierClaim $map0.InputClaimType
/////////////////////////////////////////////////// command ends ////////////////////////////

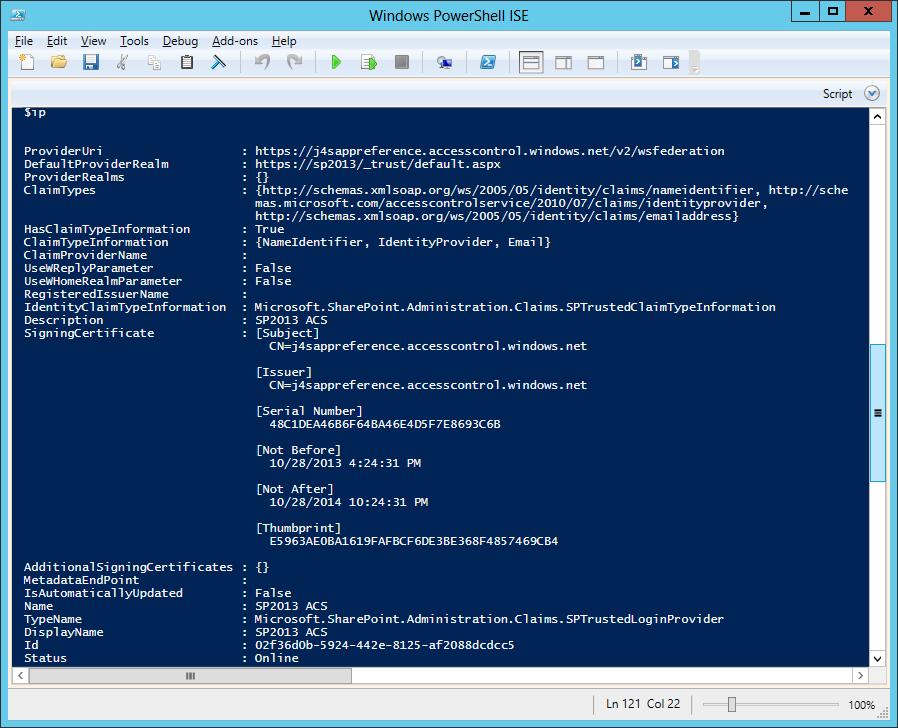
Step 3: Registering custom ACS is done and now you go ahead with creating web application
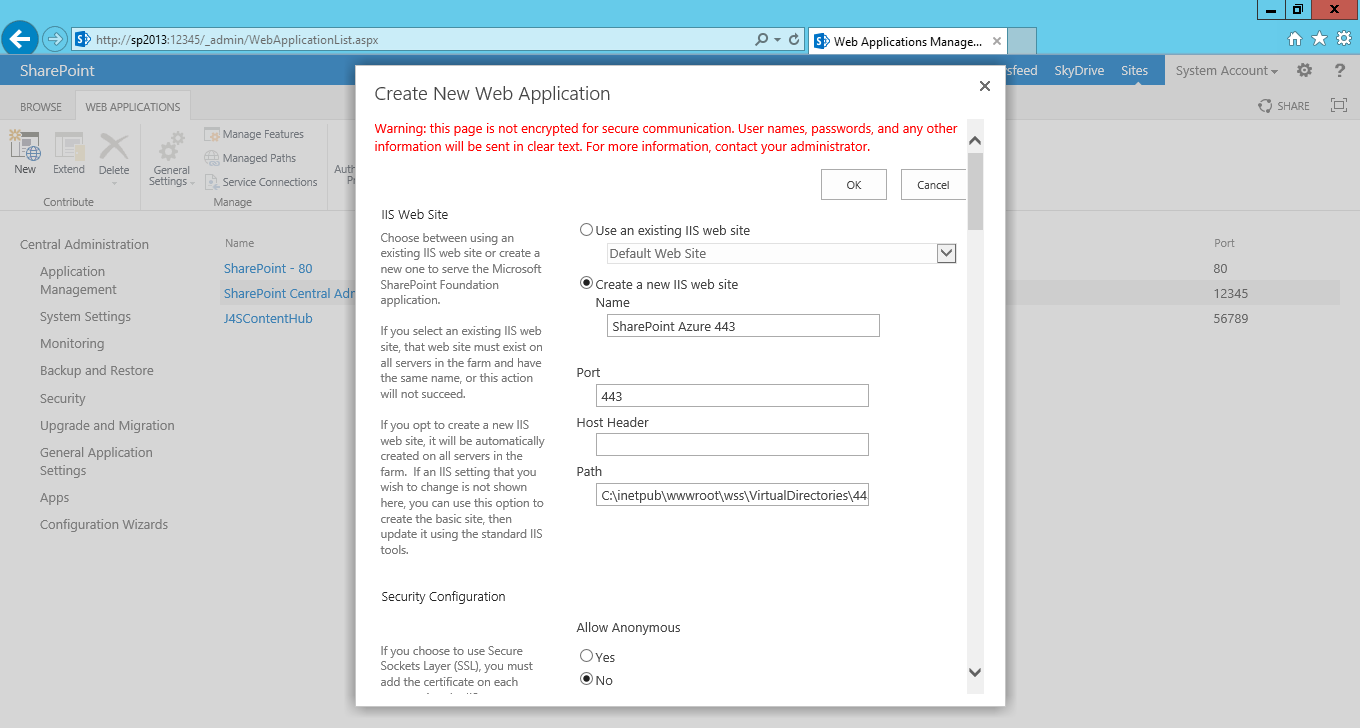
Step 4: Select Trusted Identity provider as SP2013 ACS

Step 5: Click ok and create web application


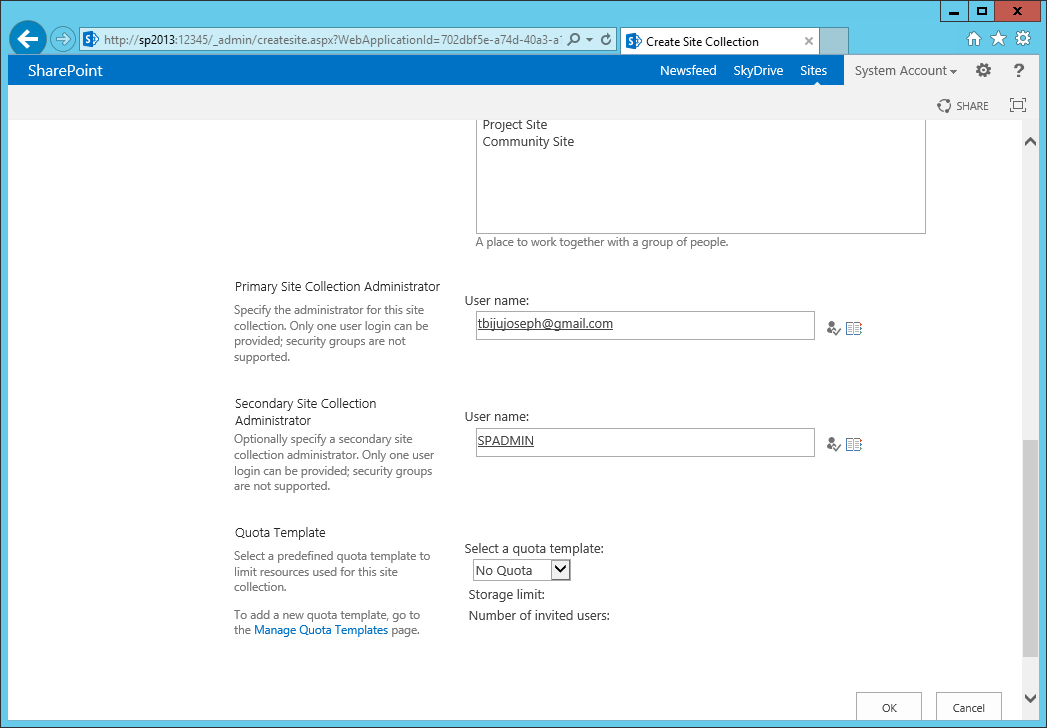
Step 6: Create a site collection and give primary site collection as your Facebook account
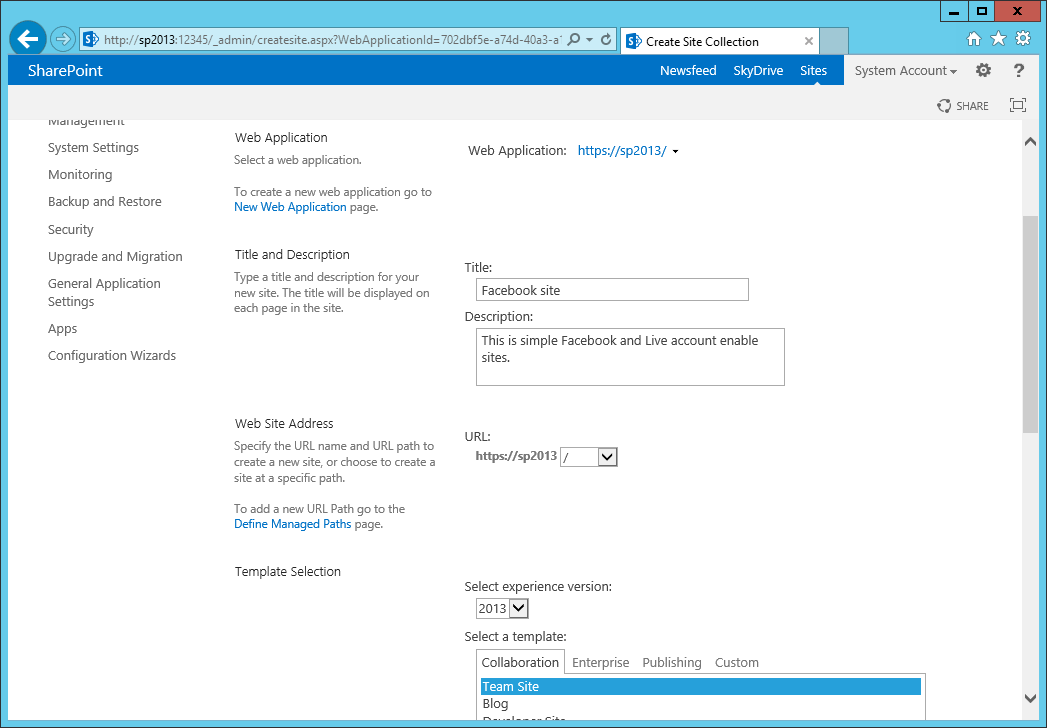

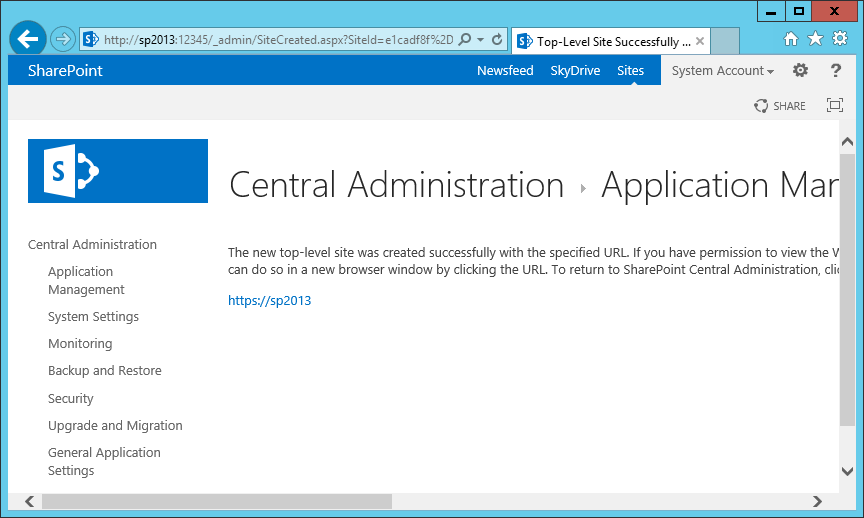
Step 7: load the new site which is SSL enabled

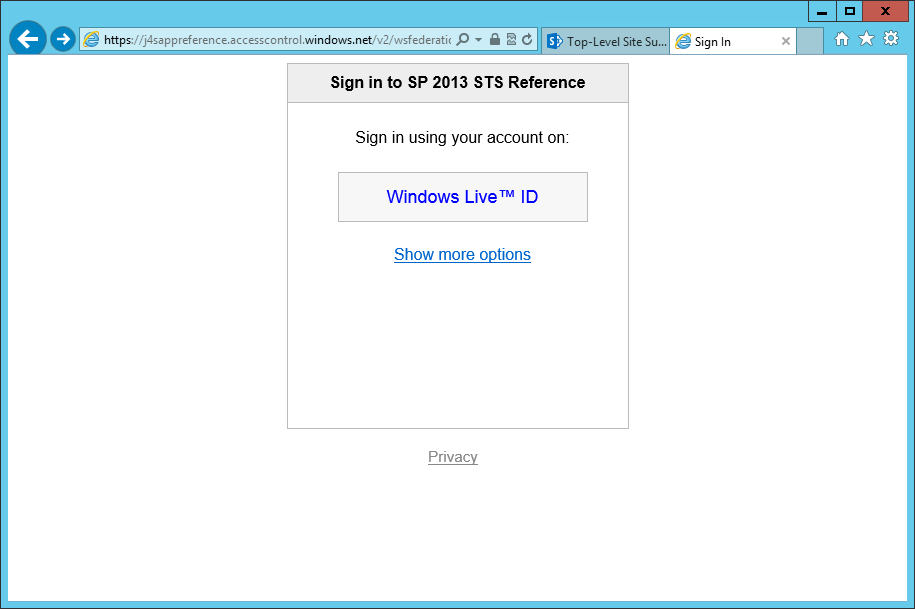
Step 8: You have option to choose between windows and custom ACS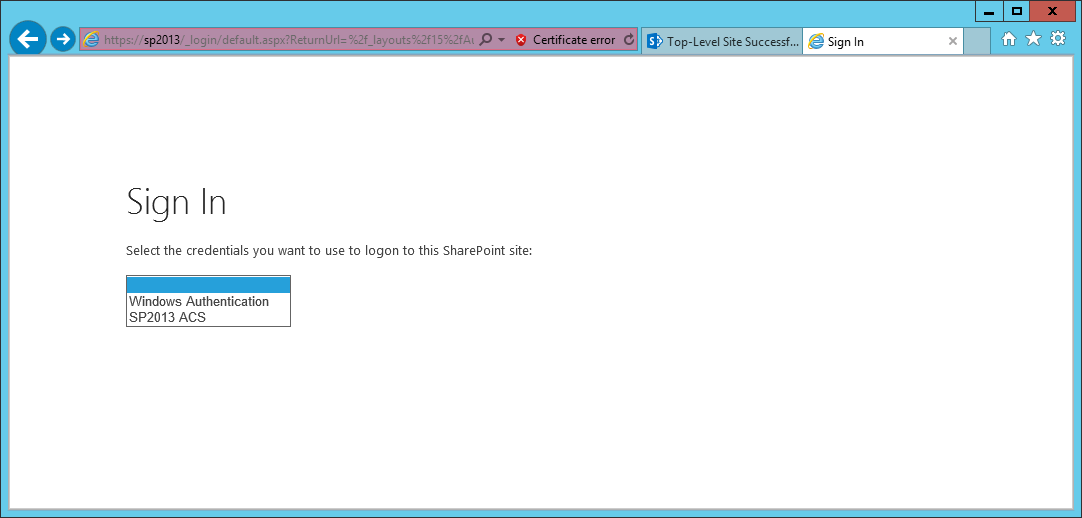
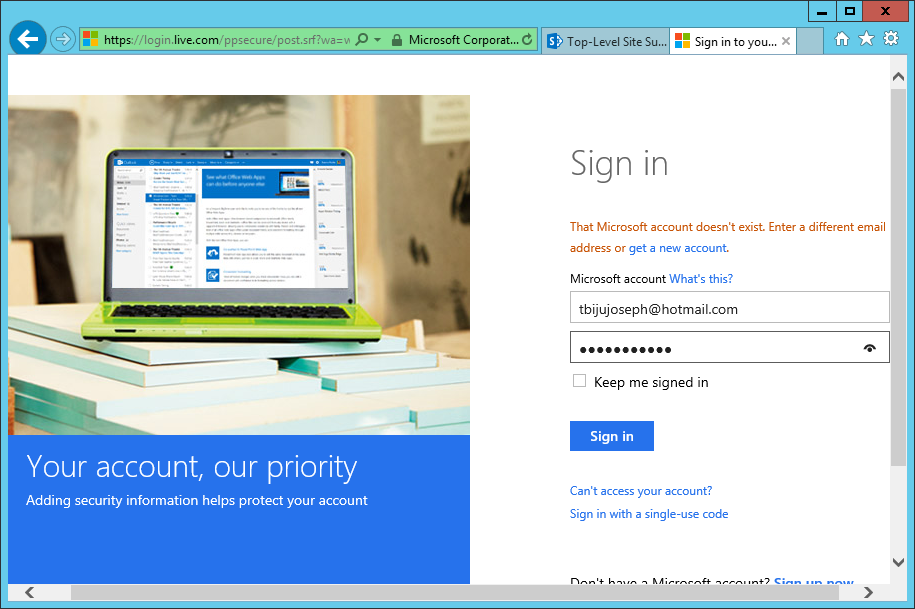
Step 9: You have two more options to try “Windows Live” and “Facebook”
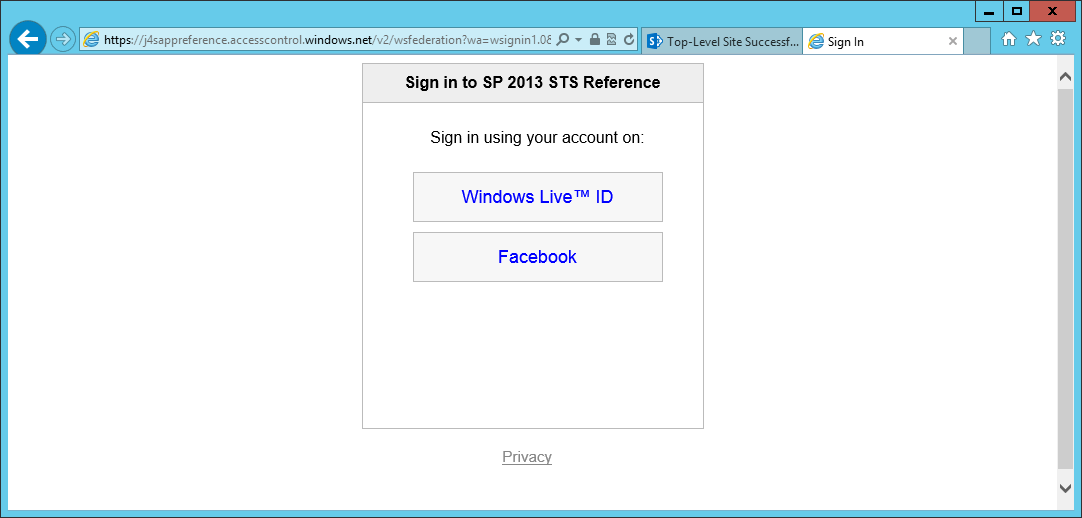
Step 9: Select “Facebook”
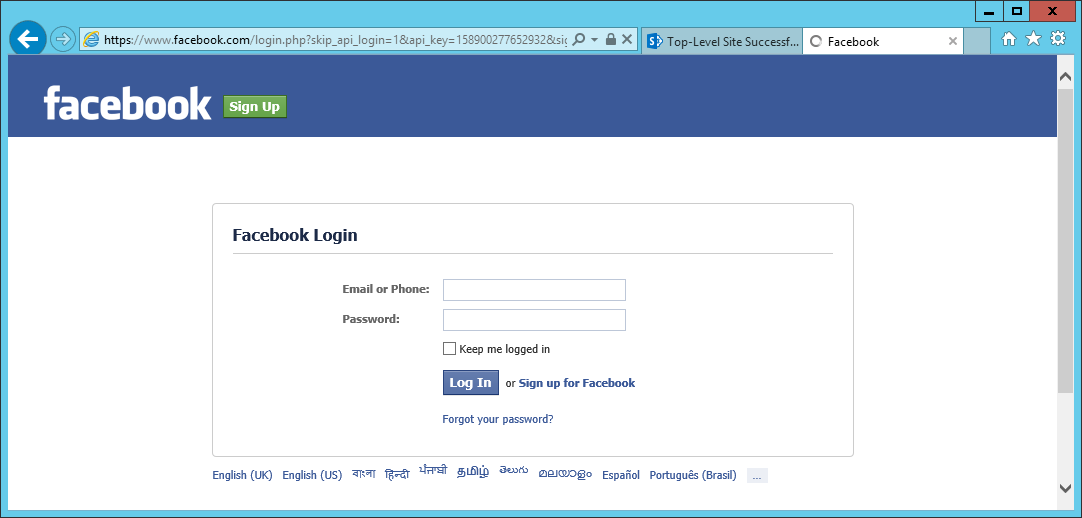

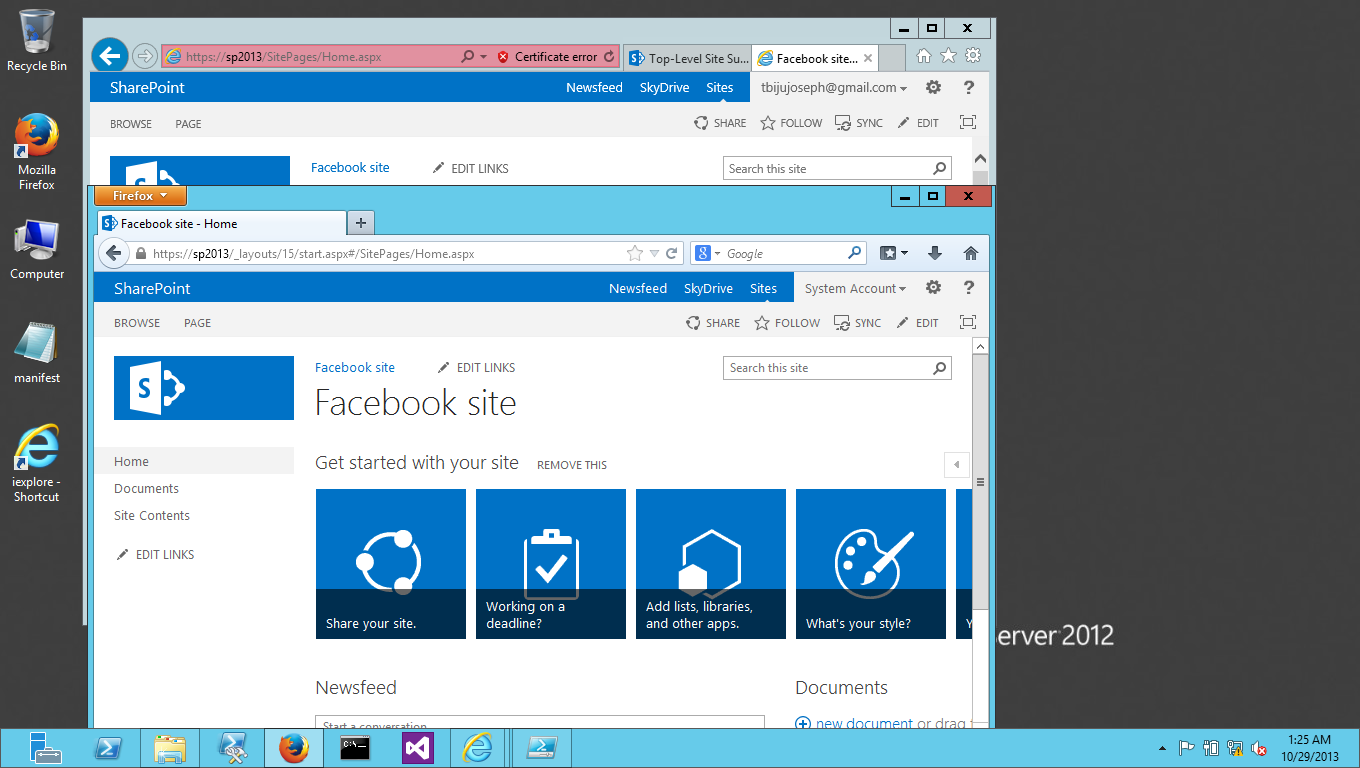
Step 10: Click okay and you are done!
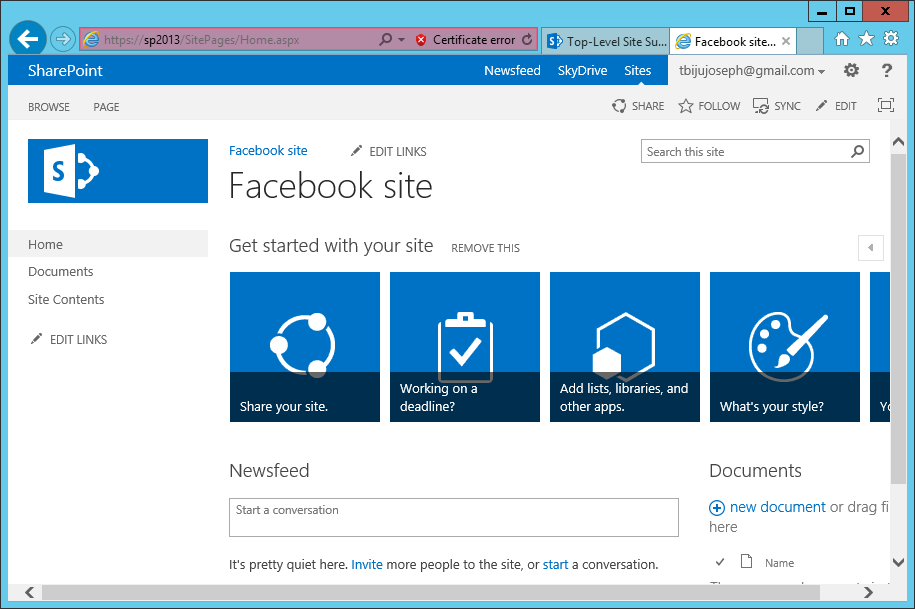
Step 11: You can also log in with windows authentication and Windows Live account as well
Don’t forget to leave a comment if it helps you.
Think Big, Start Small
No comments:
Post a Comment